About, ooooh, five months ago I decided to make my sproglet some bibs. He was six months old at the time and I wanted a bib of a decent length to actually catch all the food he was spilling down his front as I was weaning him.
After a very perfunctory Google, I couldn’t find the right kind of pattern online, most seeming to cater to smaller dribble-catching baby bibs, so I decided to make my own.

Now, I’m not claiming in any way to be any sort of sewing maven, but since I’d made the pattern I thought I’d share it here, in case it was useful for anyone else. Five months later, here it finally is!
The one good thing about my ridiculous delay in getting this ready to post is that I’ve had time to trial (and repeatedly wash) my original bibs, so I’ve made a few alterations to improve their durability.
The bib has a nice cotton fabric on the front, backed with terry towelling, which I’ve found really useful as all the food spills down the front and then you can use the back to wipe your baby clean once they’ve finished eating.
These instructions look amazingly lengthy, but it’s really a very simple process. I’ve just included lots of detail because I can’t help waffling that I thought might be useful to someone who is new to sewing. Ditto with the seemingly excessive number of photographs…
Supplies
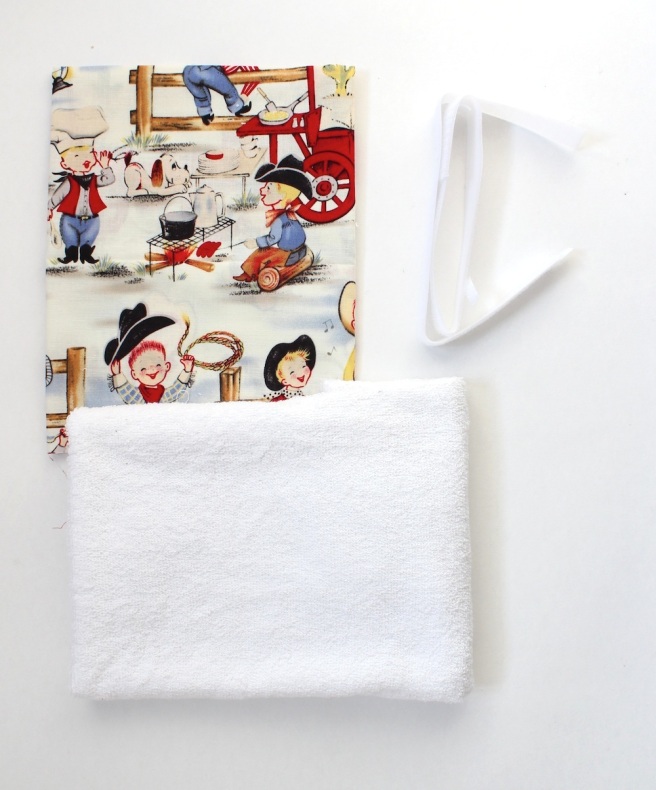
- This pdf of the pattern
- Terry towelling fabric (this makes the back of the bib)
- Cotton fabric, either plain or patterned (this makes the front of the bib)
- Sewing machine or a lot more patience than I have and a needle and thread
- Pins
- Iron-on velcro or some sew on poppers
- Scissors
What to do
- Print out the bib pattern onto two separate pieces of A4 (don’t use double sided as you need both of the pieces separately), cut out and sellotape together along the dotted lines.
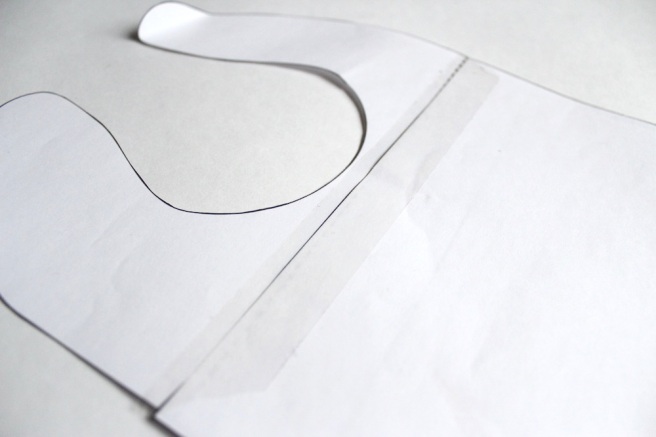
Look at that template all ready to go… - Pre-wash both of your fabrics so that they’ve done any shrinking in advance of being sewn together. Iron them flat. (I know, I hate ironing too, and am always tempted not to do it…)
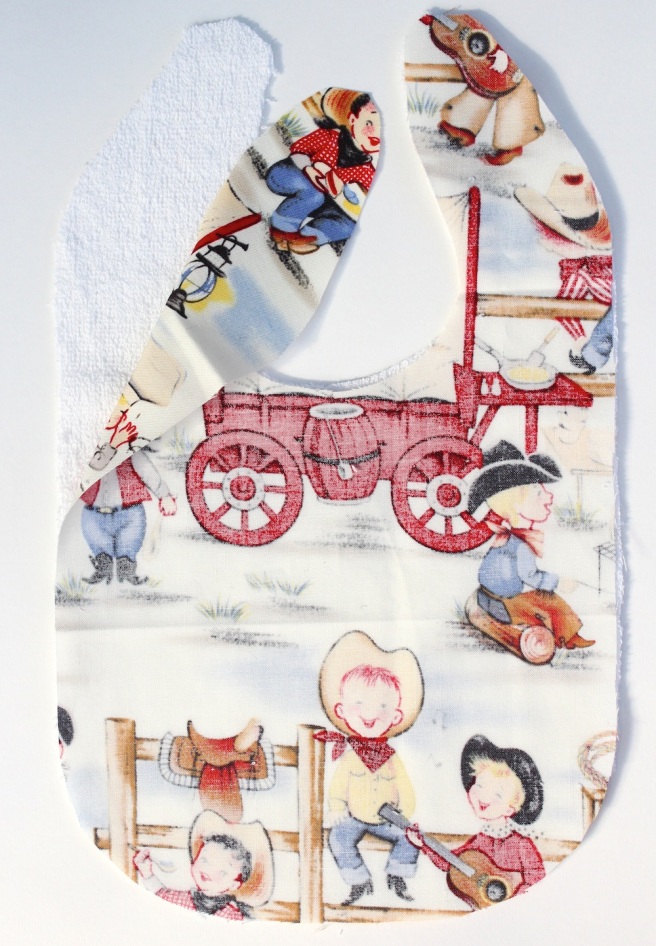
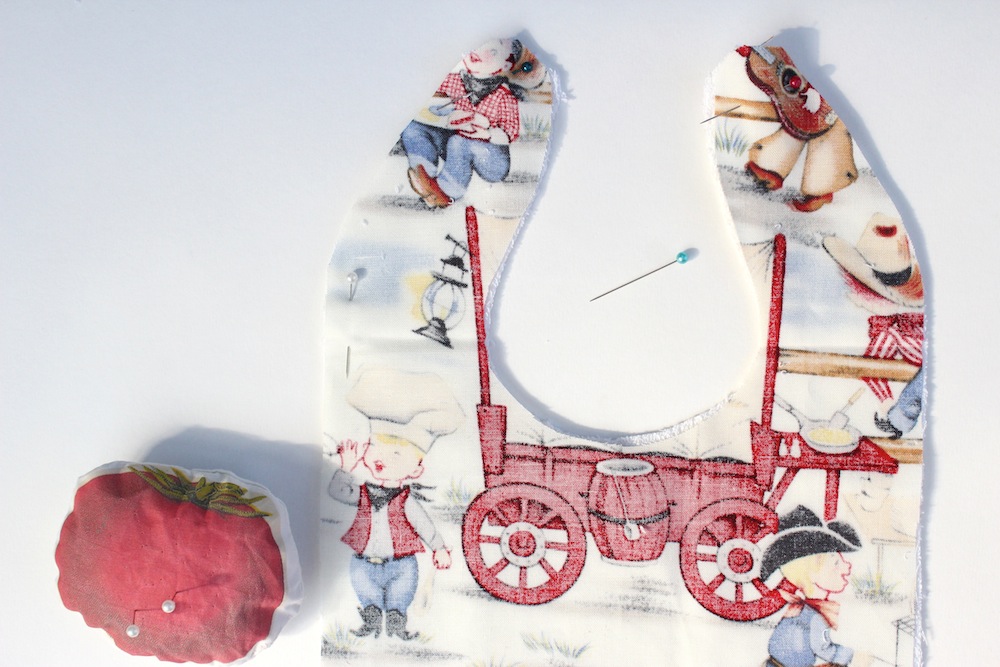
- Cut out one piece of the pattern in terry towelling and one in the cotton fabric. If your cotton fabric has a design on, make sure you line up the template so that you have the parts of the design where you’d like them to be in the bib… In the photo below, I had inadvertently cut off one of my cowboy’s heads, so I started again with the design aligned better (see the later photos). As a side note about the towelling fabric, it tends to shed hundreds of tiny little white bobbles everywhere when you cut it, so I find it useful to cut out over something I can easily shake off into the bin afterwards. (ie Not the sitting room carpet, like I did the first time I used it.)

Two pieces of fabric - Place the two fabrics together, with the right side of the cotton facing inwards…
Right sides of fabric facing (of course, the towelling doesn’t have a right side…) - …and pin around the outside

Notice my little tomato pin cushion? I had one left over from the tomato garland and this was a perfect use! - Leaving a small gap to turn the bib inside out, sew around the outside, with a 1/2 inch seam allowance. (NB, I’ve found with the other bibs I’ve made that the terry towelling tends to fray a little, hence the slightly large seam allowance.)

Sew around the outside of the bib pieces - As an optional extra, you could also go around the seam with a zigzag stitch as well, just to prevent any fraying in the future…

Stitch the seam in zig zag, just outside your original straight line - Turn the bib inside out, pushing the material through the hole you left

Push it through the hole. You might need to use your finger or a wooden spoon on the neck pieces - You’ve now got a slightly puffy version of the finished bib.

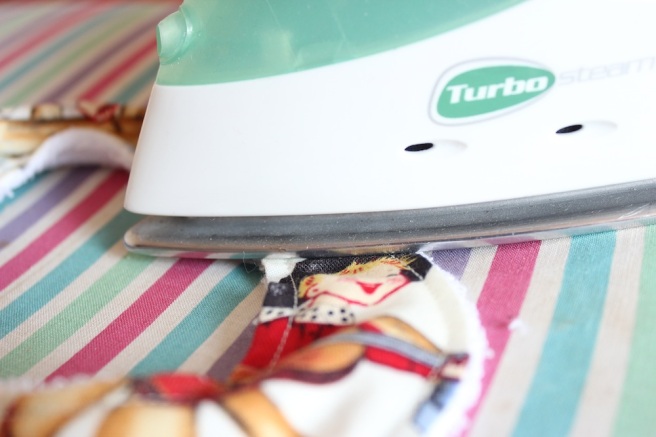
A slightly puffy version of the bib… - Iron the bib flat, making sure that your gap matches the rest with seam allowance.
Nearly there… - Leaving a 1/4 inch seam allowance, and starting and finishing with a small backstitch, sew all around the outside of the bib, which creates a neat-looking edge and closes the gap at the same time
Neat edges! - Cut all the loose threads.
- Now for the fastening. Cut a piece of Velcro the appropriate size for your neck edges. Position it in the right place and hold both sides of the neck fast.

Make sure the velcro fits just on the tip of the neck pieces 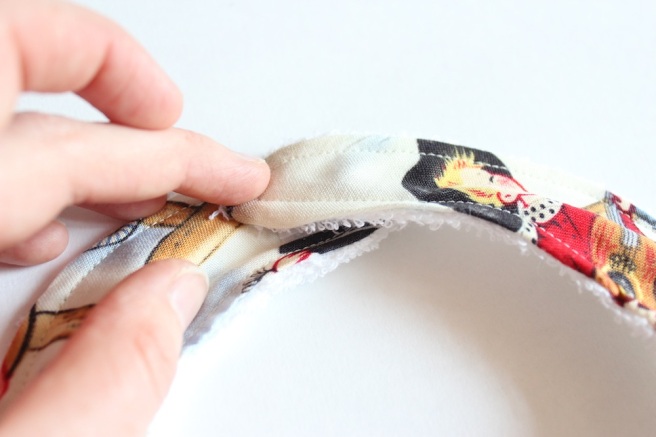
Position the velcro fastening so that the neck closes as you’d like it to - Then iron it into place, following the instructions for your brand of velcro. (Usually, this is something like, don’t iron directly onto the velcro and don’t use the steam settings. Leave the iron on place for about a minute to seal the glue.) Leave it to dry.
Iron straight on the top and it should be hot enough to glue the velcro in place - If you’re planning on putting the bib in the washing machine and tumble dryer (and, let’s face it, I doubt many people want to hand wash bibs) you might find that the iron-on velcro isn’t that sturdy. Just in case, I sewed all round the velcro as well, completing a square around the outside and then two diagonal lines across the main section as well.

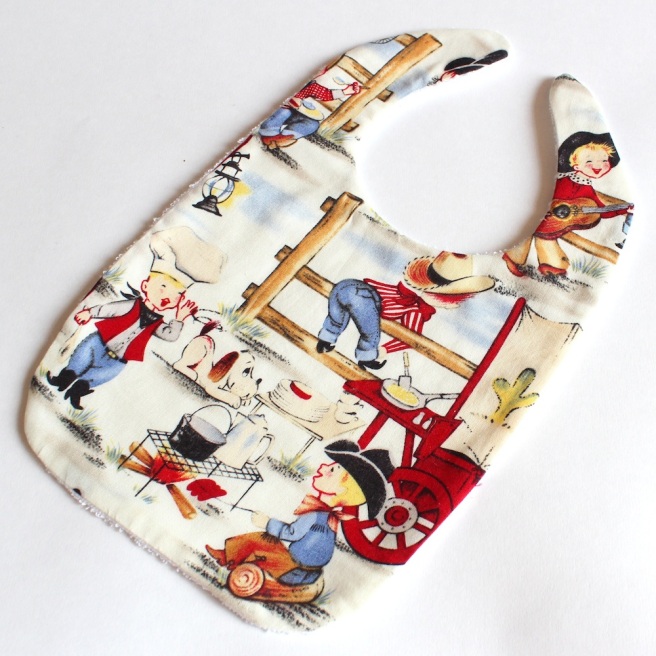
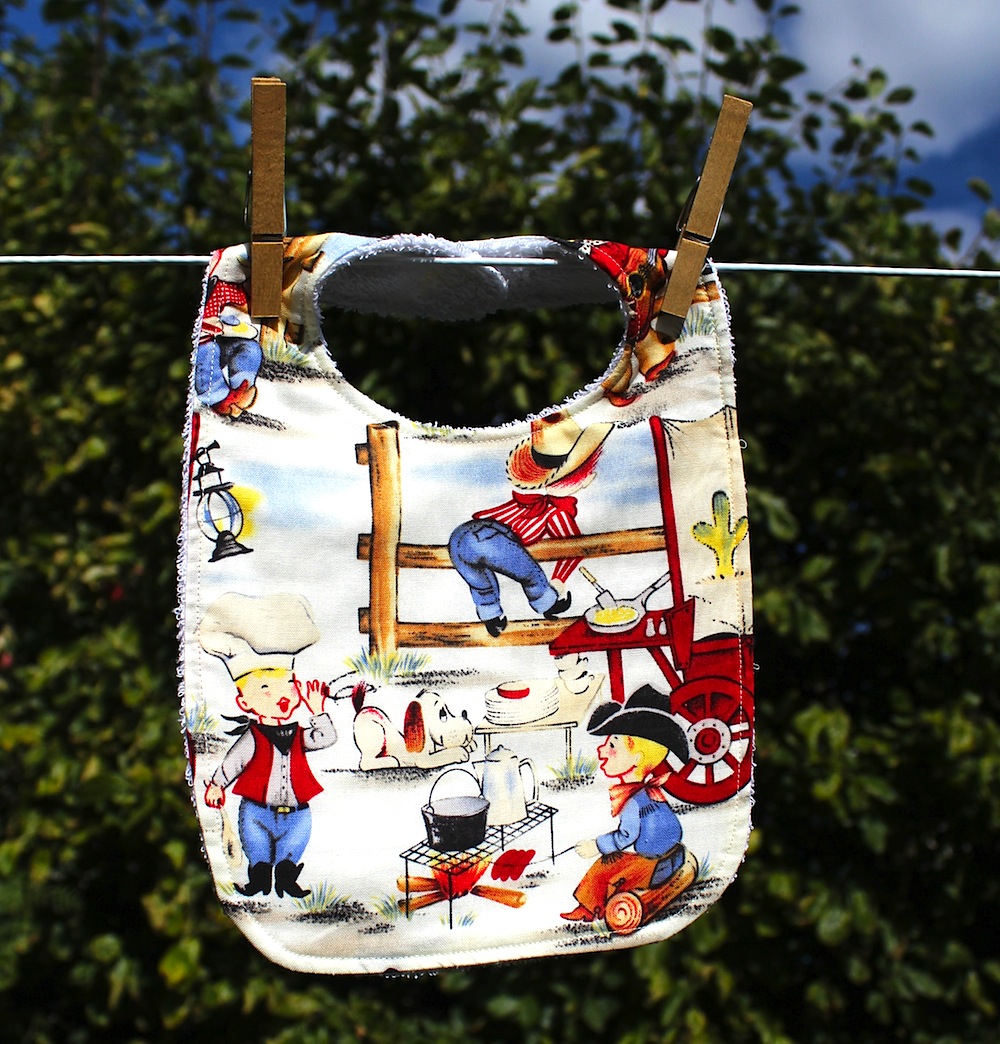
Okay, this isn’t completely the neatest sewing, but you don’t really notice the stitches when you’re not up close… - Tadaaaaa! It’s all finished, and quite professional looking, even if I do say so myself:


Just perfect to hang out on the line and admire in the breeze…
Embellishing
You could leave the bib like this, or you could embellish the front. In my first bib bundle, I made a few with plain white fabric and then ironed on vintage images using the method outlined here. This gave me such beauties as this cabbage bib:

This time round, I decided to quilt the front of one of the bibs I made. (Since learning how to quilt, I’ve become a bit obsessed with it as a general idea…)
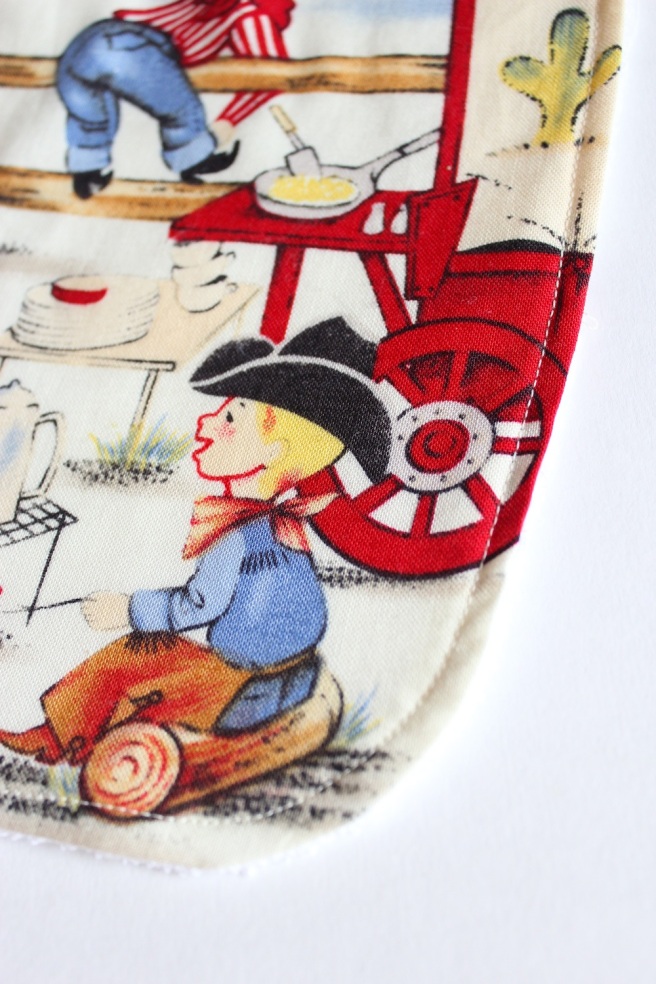
I just roughly went around the outlines of the fabric design, which looked really good afterwards. You can pick out details like this cowboy’s bum disappearing over the fence…

…or this cowboy’s head:

You could also try all sorts of other things, such as applique, or making the top fabric from patchwork. I’ve even seen some bibs for baby girls with rickrack sewn on to them… (Not my personal cup of tea, but each to their own.)
Despite lengthy instructions here, this really is a simple make. In fact, I suspect you could probably make a new bib in less time than it’s taken to read through to the end of this post…
If you do make one, I’d love to hear how you’ve got on. Please do leave me a comment below and let me know…
Related articles:
- Take a look at my first bundle of bibs for more fabric ideas
- If you were giving these as a present, I think they’d be great along with this quilted burp cloth…
- …or these gorgeous little baby trousers

Ahh how cute
And no hand sewing, result! I would have loved some of these many moons ago.
Ha ha, if there was hand sewing they’d still be unfinished right now!
Aww, I love the material on these, it’s mega cute! (Also hate hand sewing…)
It’s cute isn’t it? Forgot to say that it’s a Michael Miller fabric, I fear I bought it from Amazon in a non-supportive of independent retailers way…
Hello,
I love your bib, and thank you for the tutorial – bought some Michael Miller fabric on eBay (I love their stuff so much) and am going to try and make one. When I draw round the template, do I add seam allowance extra, or is the seam allowance in the template piece already?
Your blog is great to read, and you have a lot of creative talent, so I’m sure your dream wil bear fruit. What’s important is to HAVE a dream …. doesn’t matter how long it takes to fulfil, if you can see it in your mind’s eye then you’ll do it one day. Cath Kidston had to start somewhere! 🙂
Barbara
Thanks Barbara, that’s lovely to hear!
So glad you’re going to make the bib, do let me know how you get on. The seam allowance is already included in the template, so there’s no need to add anything extra on… Hope everything else makes sense!
Sooooo cute!!! I’m going to try making one this weekend.
That’s very cute. I am sure this is much better than store bought one.. 🙂
#Pintorials linky
How many of these can I make out of one yard of fabric?
She loves her bibs, especially when they have a picture of a child on them. That is the fabric I will use. Thanks.
I really love this tutorial as well as the fabric that you have used. I’m pretty much sure that this bib is lovelier than those in the store. The steps are very easy to follow. Many beginners can have a very good start through this pattern.
Hi I love this pattern. I would like to make a couple for a collegue as a gift but wondering how I could scale it down for a smaller baby or do you think this will be ok as no doubt as a new born the baby will be breast fed for a few months and wont need bibs till a bit older and on solids
Margaret
Hi Margaret,
So pleased you’re going to make it! Yes, I would think just make this size, and then it can be a little big at the beginning, but about right once they start eating solids…
You could always put quite a long bit of velcro on, so that it could be adjusted around the neck, or a couple of different poppers?
Let me know how it goes!
Sabrina
Great bib tutorial. I like your design. I actually suggest that instead of using velcro a snap would be much better closure since it won’t easily be pulled of by the baby. What do you think?
Hi Angela,
Thanks very much, glad you like the design! Yes, you could definitely use a snap closing instead. Personally, I get a bit squeamish about having things round babies necks, so I prefer it to just come undone if they pull on it really hard, but I know I’m probably being a bit over-cautious on this one!
Sabrina
Hi Sabrina, Can not wait to try this, my only question is where did you find the towelling fabric and was it a decent price?
Hi there, I think I probably just bought it online – maybe from eBay? Can’t quite remember now though! Am sure it wasn’t very expensive…
Thank you for the amazing tutorial! Your photo’s are clear and large enough to see without having to enlarge the picture. This is the exact pattern that my daughter is wanting me to make for my grandson. Again, thank you! ❤
love the print choice of fabric, where did you buy it?
Thanks, Michele