It was my Mum’s birthday a few weeks ago and, being the disorganised daughter I am, it got to the evening before and I realised I hadn’t yet bought her a present.
I rang up to apologise in advance that her present was going to be a bit late this year and the disappointment in her voice was tangible down the phone line.
I felt bad.
So, I scratched my little head and racked my little brain to try and think of a nice temporary present I could make her while watching X Factor that evening. Something small, quick to put together, that would give her something she could open “on the day”…
(My family are big fans of “on the day” presents: something small to tide over the birthday boy or girl til you get round to actually buying them a proper present. This chronic lateness and disorganisation is genetic, you see, I can’t fight it…)
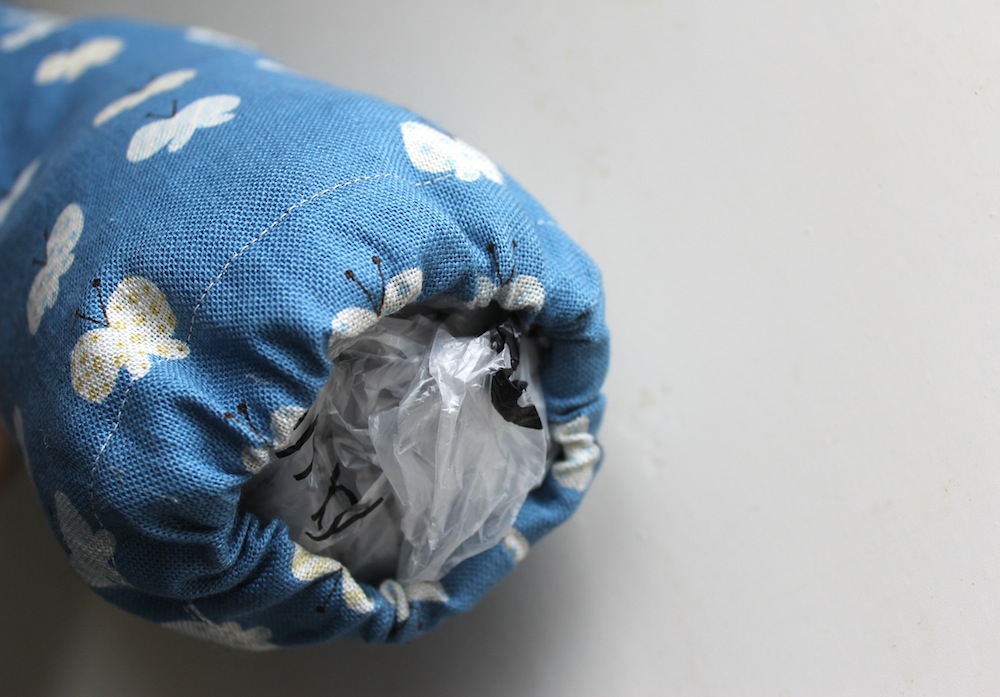
And what did I come up with? This plastic bag stuffer!
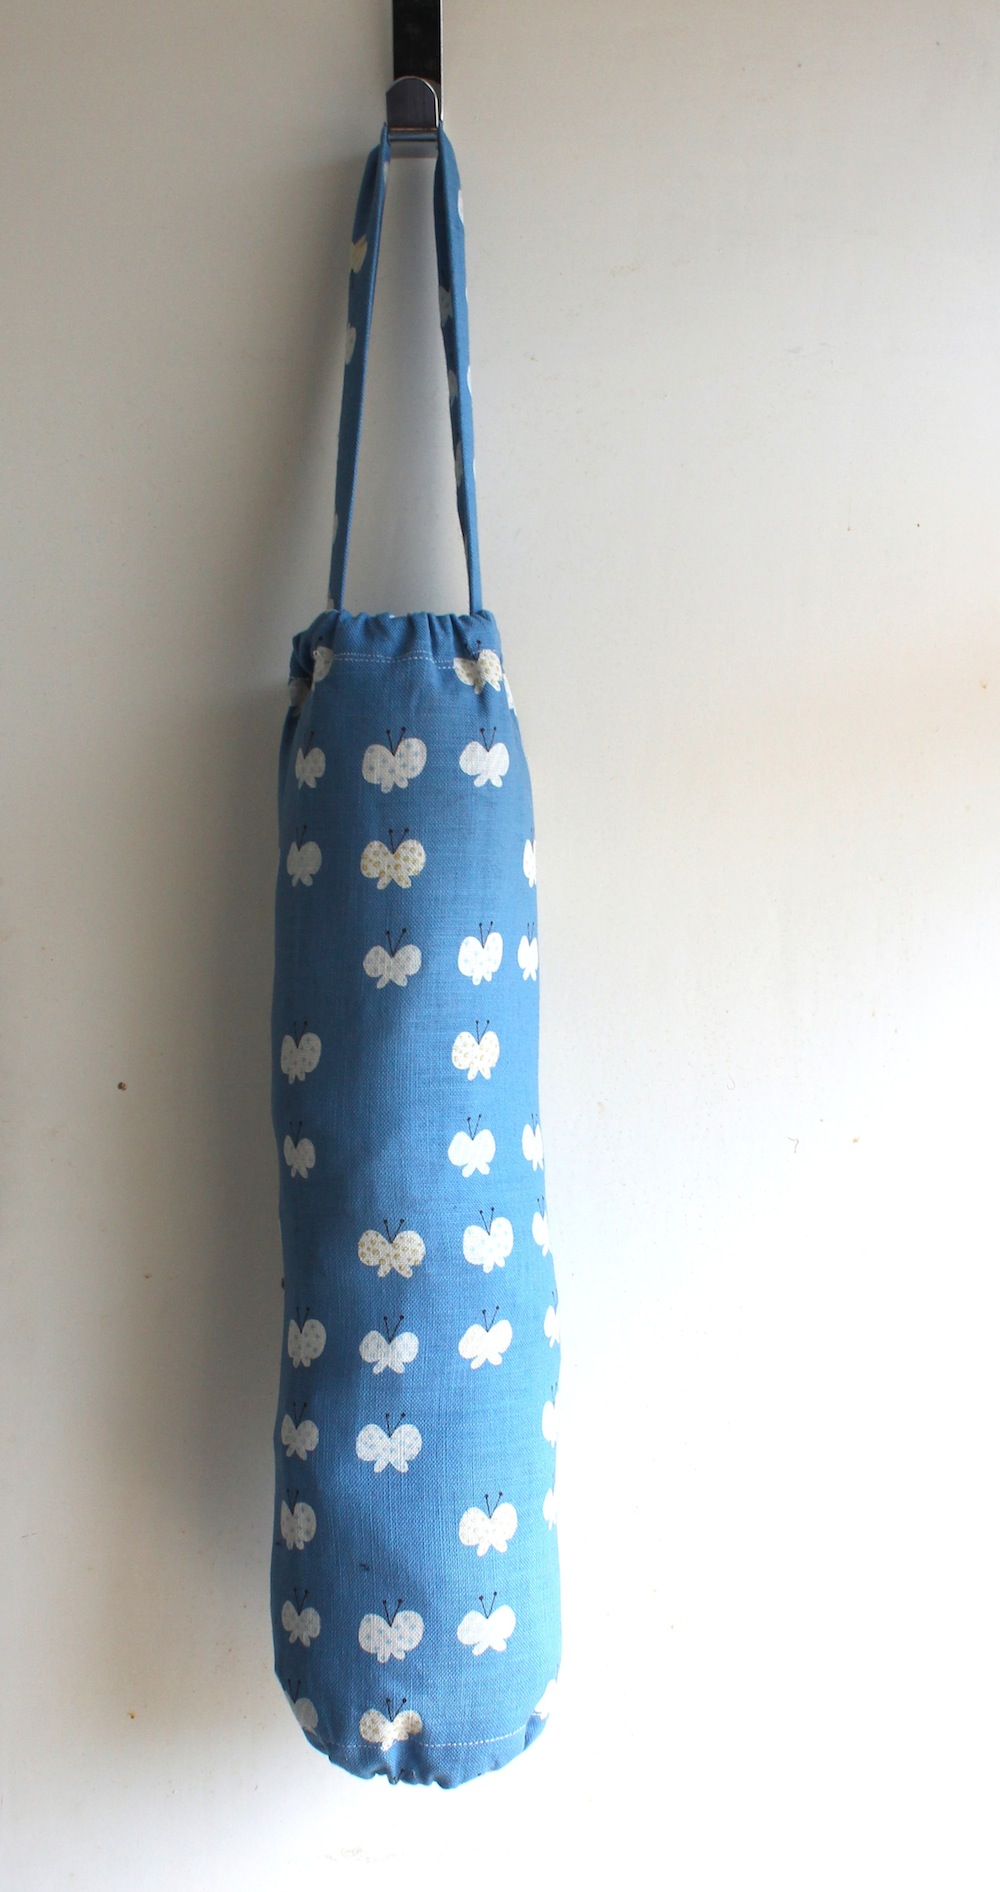
Not, I’ll grant you, the most exciting present in the world, but I knew that my Mum has a dark, dark cupboard in her house which is absolutely overflowing with hundreds of plastic bags, and she had admired my (ridiculously expensive) Cath Kidston version before.
The fabric was the last remnants of some glorious Japanese butterfly fabric that I bought when living in Hong Kong a few years back.
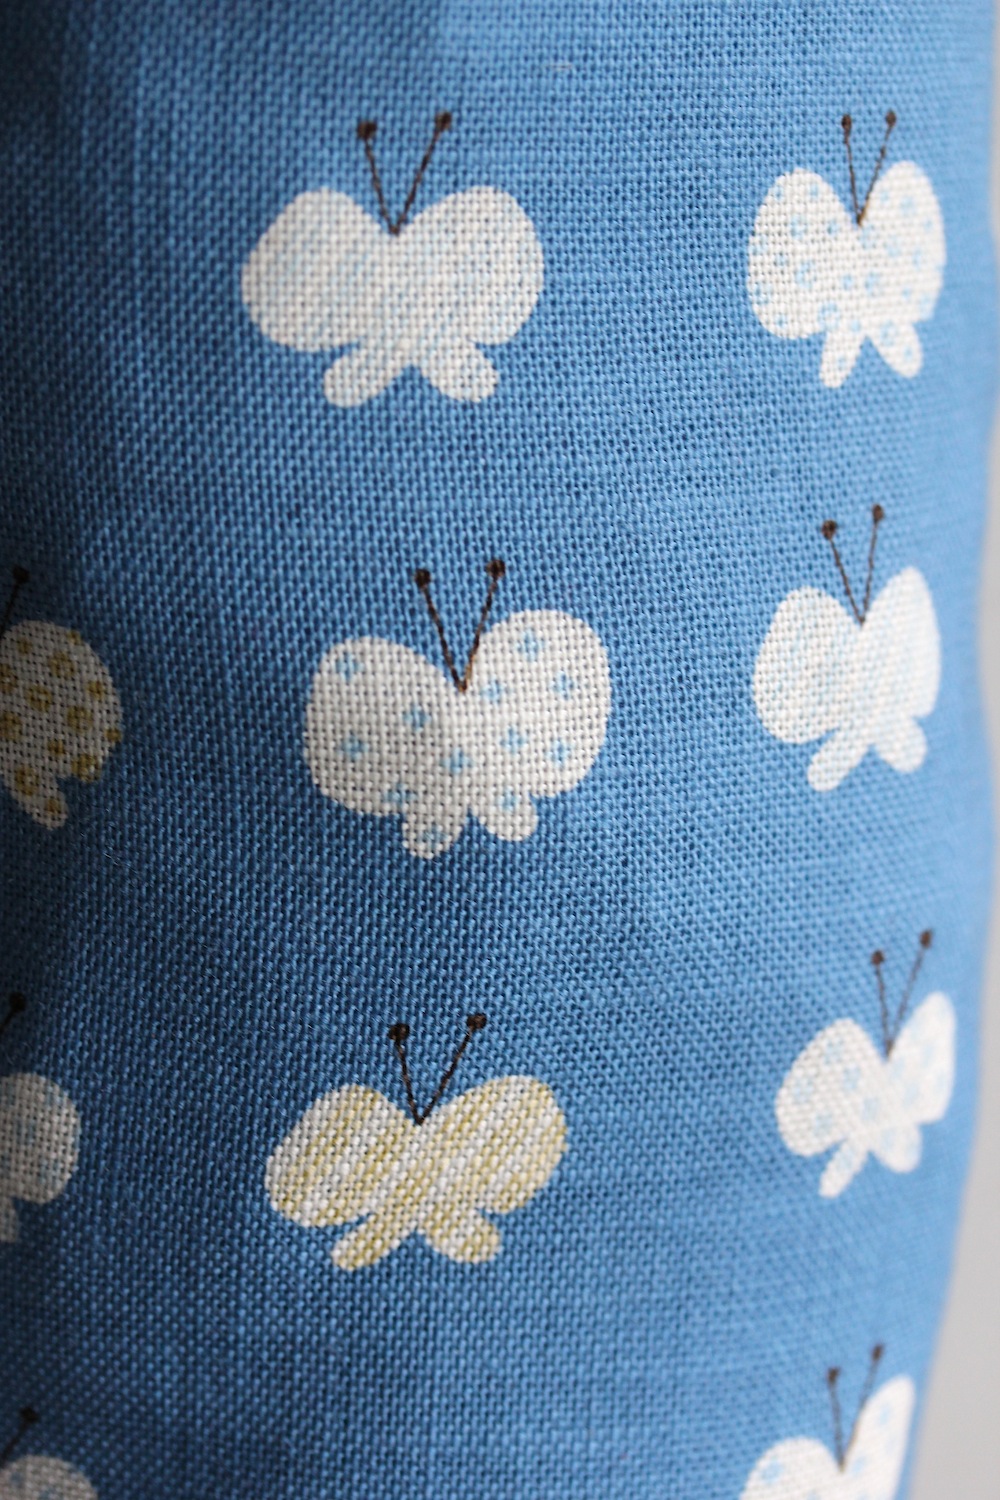
(You might recognise it from the business card holders I made earlier this year.)
The construction was pretty simple. I cut myself two rectangles; the bigger one, at approx. 45cm x 35cm for the main bag holder, the smaller one, approx. 40cm x 10cm for the handle.
On both rectangles, I sewed the two long sides together to make two tubes.

For the rectangle that was to be the handle, I turned the fabric the right way round and ironed the tube flat.
On the large rectangle, I then folded a small hem at both ends, ironed this in place, before folding once more to create a second, bigger hem, of approx. 3cm. I pinned the handle into position at the top end of the bag and then sewed round the two large hems, leaving a gap to feed the elastic through.
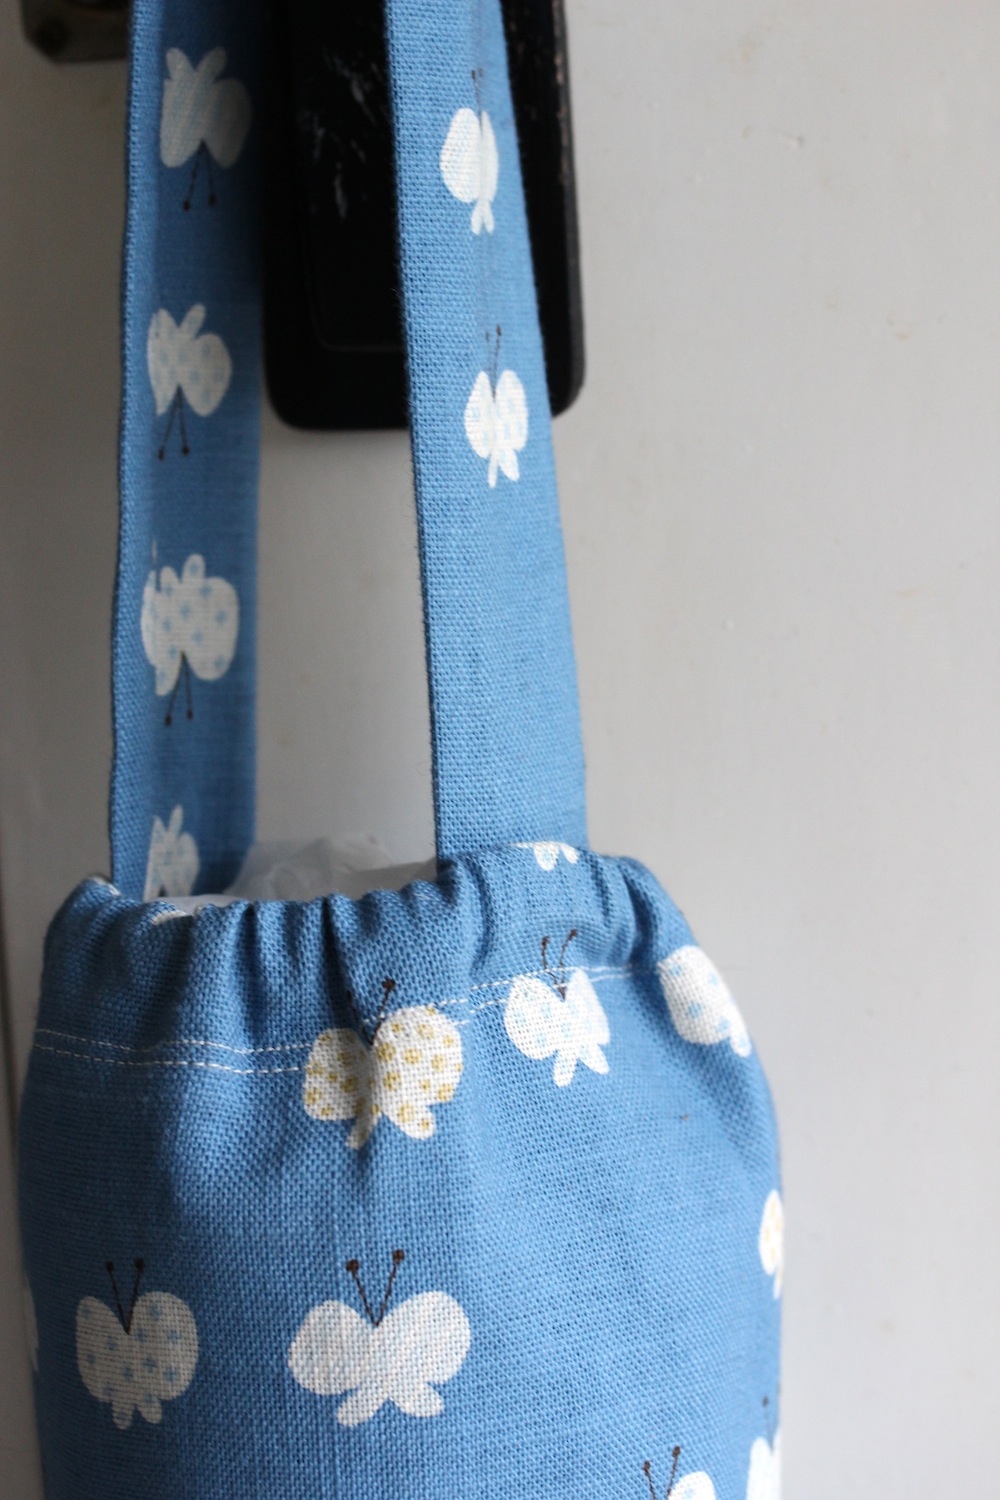
I cut two pieces of elastic, approximately 20cm long and, using two safety pins, threaded them through the holes and sewed the ends together. Finally, I sewed the gaps shut and admired my work.
Of course, since I was also busy watching X Factor and it was night time, I didn’t stop to take any photos of anything along the way, so if you’d like to make one of these and any of those instructions didn’t make sense, do leave me a comment below and I will explain further if needed!
My Mum was really pleased with it and, as you can see, it is already in use. Now, I just need to figure out what to get her for her actual present. Hmmm…
Related articles:
- You can see more of my sewing projects in the sewing category

If I was your mum it would mean far more that you’d made me that anyway, who needs ‘proper’ presents, this is the best type of all. Beautiful bag holder. Jo Barton
Thank Jo! She was very pleased, which was good! Sometimes I worry that I rather foist homemade presents on my family against their better wishes, ha ha.
I need one too! My birthday’s next month!! Lovely material.
That’s a great idea for a present! I had to chuckle at the “models own” comment too!
That fabric is lovely. Also I heard that it is perfectly acceptable to give a wedding present up to a year after the couple get married. I think you know what I am saying here, I must have picked up some chronic disorganisation myself.
Ha ha ha!
This is such a good idea. Am definitely going to try to make one of these! Have been really enjoying reading your blog!